- 本文详细介绍了如何使用github搭建博客,从安装ruby和ruby devkit,到配置jekyll,最后在github中发布与同步,完成博客的搭建。本文针对的是windows用户,由于Mac OS默认安装了ruby,因此只需要配置jekyll即可,但是其中有很多地方需要注意(比如gem install rack 报错:you don’t have permissions for the library …directly,就需要在命令前加上sudo,临时以root权限执行该命令)。
1 安装 ruby 和 ruby devkit
1.1 download ruby and install
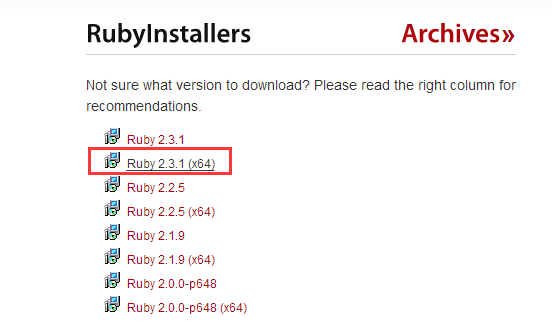
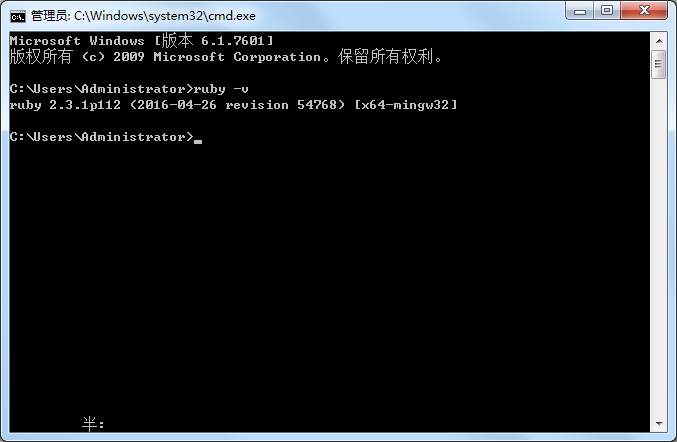
- 下载和安装ruby (百度经验rubyhttp://jingyan.baidu.com/article/48b558e33558ac7f38c09aee.html)
- 下载地址:http://rubyinstaller.org/downloads/
 …
…
1.2 下载和安装ruby devkit
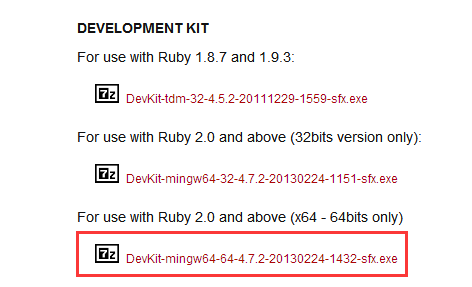
- (百度经验http://jingyan.baidu.com/article/6b182309b59ba1ba58e159a0.html)
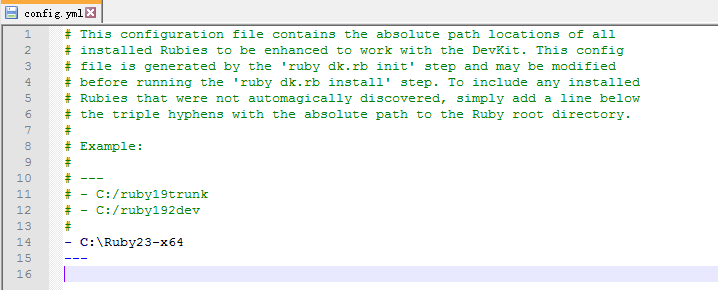
- 报错则配置config.yml文件
2.ruby中安装jekyll
- (http://waylau.com/jekyll-static-bog/?utm_medium=referral&utm_source=tuicool)查看gem source
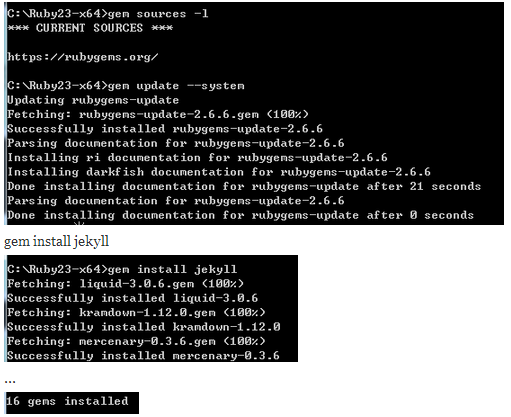
- gem install jekyll
…
-
如果报错,则需要修改gem source 地址
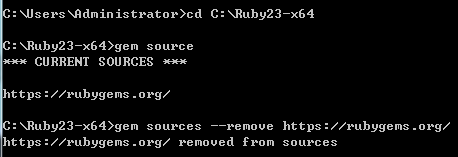 改为https://gems.ruby-china.org或者淘宝镜像https://ruby.taobao.org/
…
 -
安装rdiscount,这个是用来解析Markdown标记的解析包。

-
创建博客文件夹,我习惯将它放在devkit下 C:\Ruby23-x64\RubyDevkit\Blog
-
键入jekyll new . 目录自动生成这些文件。

3.github中发布与同步
-
下载安装github desktop,地址:https://desktop.github.com
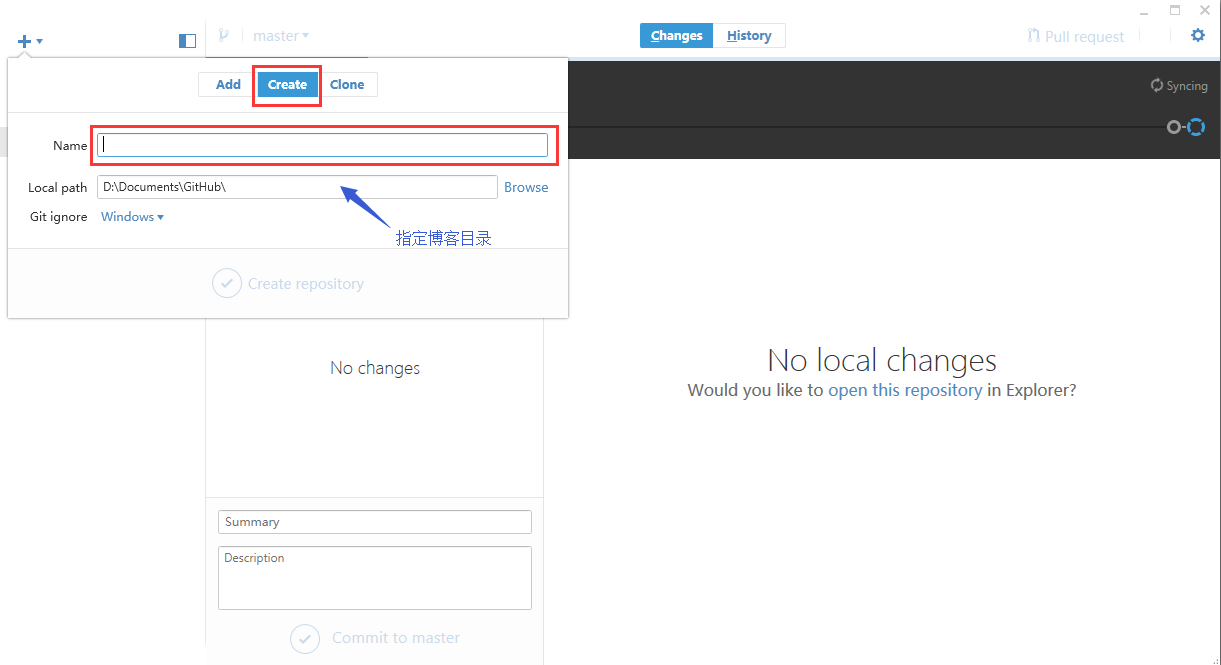
- 创建repository,命名为博客名.github.io,并指定博客目录。 填写好Summary 和 Description Lucy’s Blog
-
First time to creat the blog,update the local repository to the github server.
-
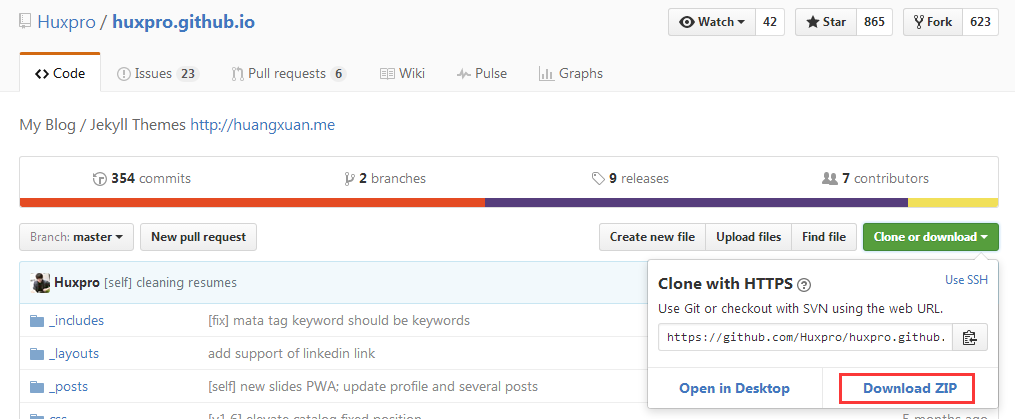
将下载下来的博客模板文件复制到该目录下。下载地址:http://jekyllthemes.org/
- 在github desktop软件中找到publish按钮并publish(上图Syncing位置)
其它
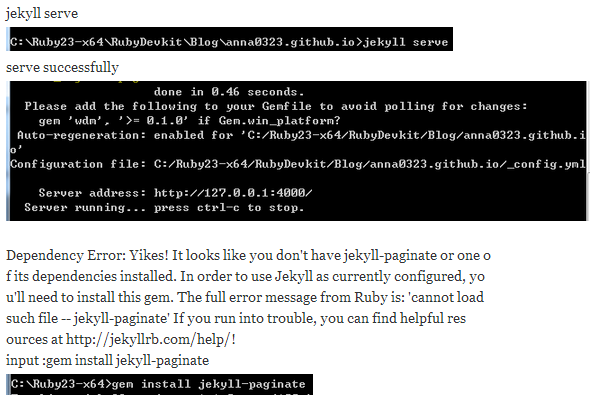
-
浏览器输入:http://localhost:4000/或者http://localhost:4000/index.html进入本地博客
-
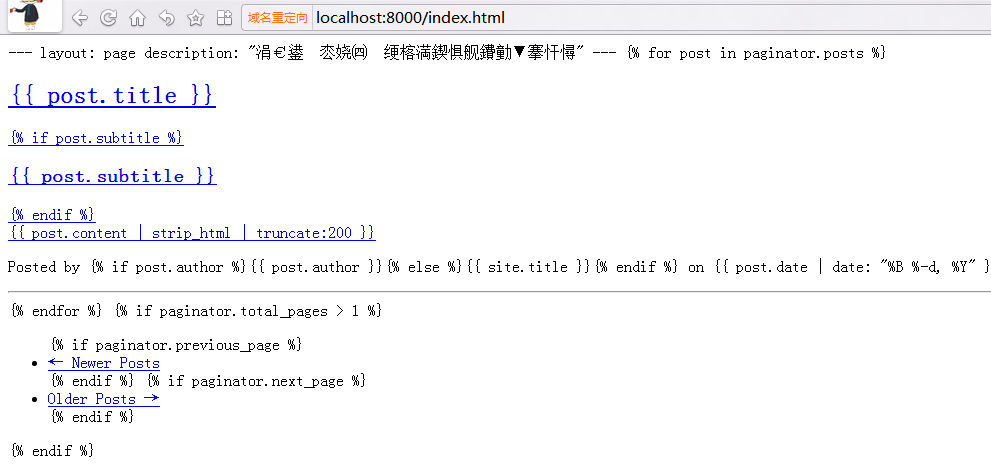
那么我可以直接使用Python -m http.server 8000直接做本地服务开启吗 测试了之后并不能,它只能找到本地的单个HTML文件
本地与github服务器数据同步的多种方法
- 可以在github网页中创建repository然后clone到本地
- 可以在本地创建然后再同步到服务器
- 在本地创建文件夹然后添加,然后同步到服务器